Floating prints in a frame
A quick search on the internet will yield many ways to float mount artwork, but this is basically how I do it for most of my prints.
Items needed:
frame
acid-free/archival matboard that’s the same size as the frame
spacer (or extra strips of matboard)
acid-free/archival linen tape
mat cutter
scissors
pencil
ruler
1) Using a mat that’s the same size as the frame, place the artwork where you’d like it to be within the mat. Two common options:
a) floated in the middle, where:
top margin = bottom margin
right margin = left margin
b) floated with bottom weighted, where:
top margin = left margin = right margins
bottom margin is slightly larger/weighted
Use a ruler to make sure that the margins are what you need them to be.

The artwork pictured was placed in the middle of the matboard.
2) After you are happy with where you want the art work to float within the area of the matboard. Carefully and without moving the artwork, make two pencil marks just within the top left and right edges of the art work, so that it’s just out of sight under the paper.

Pencil marks just inside of the top left and right edge of the artwork.
3) Put the artwork aside. You’ll need to cut some acid-free, archival tape to float mount the artwork on the mat.

Either one of these archival linen tape pictured should be good.
The gummed version need to be wetted to activate the adhesive, so it’s less convenient than the self-adhesive one. But it’s removable, if necessary by rewetting (I’ve not actually tried it myself though).
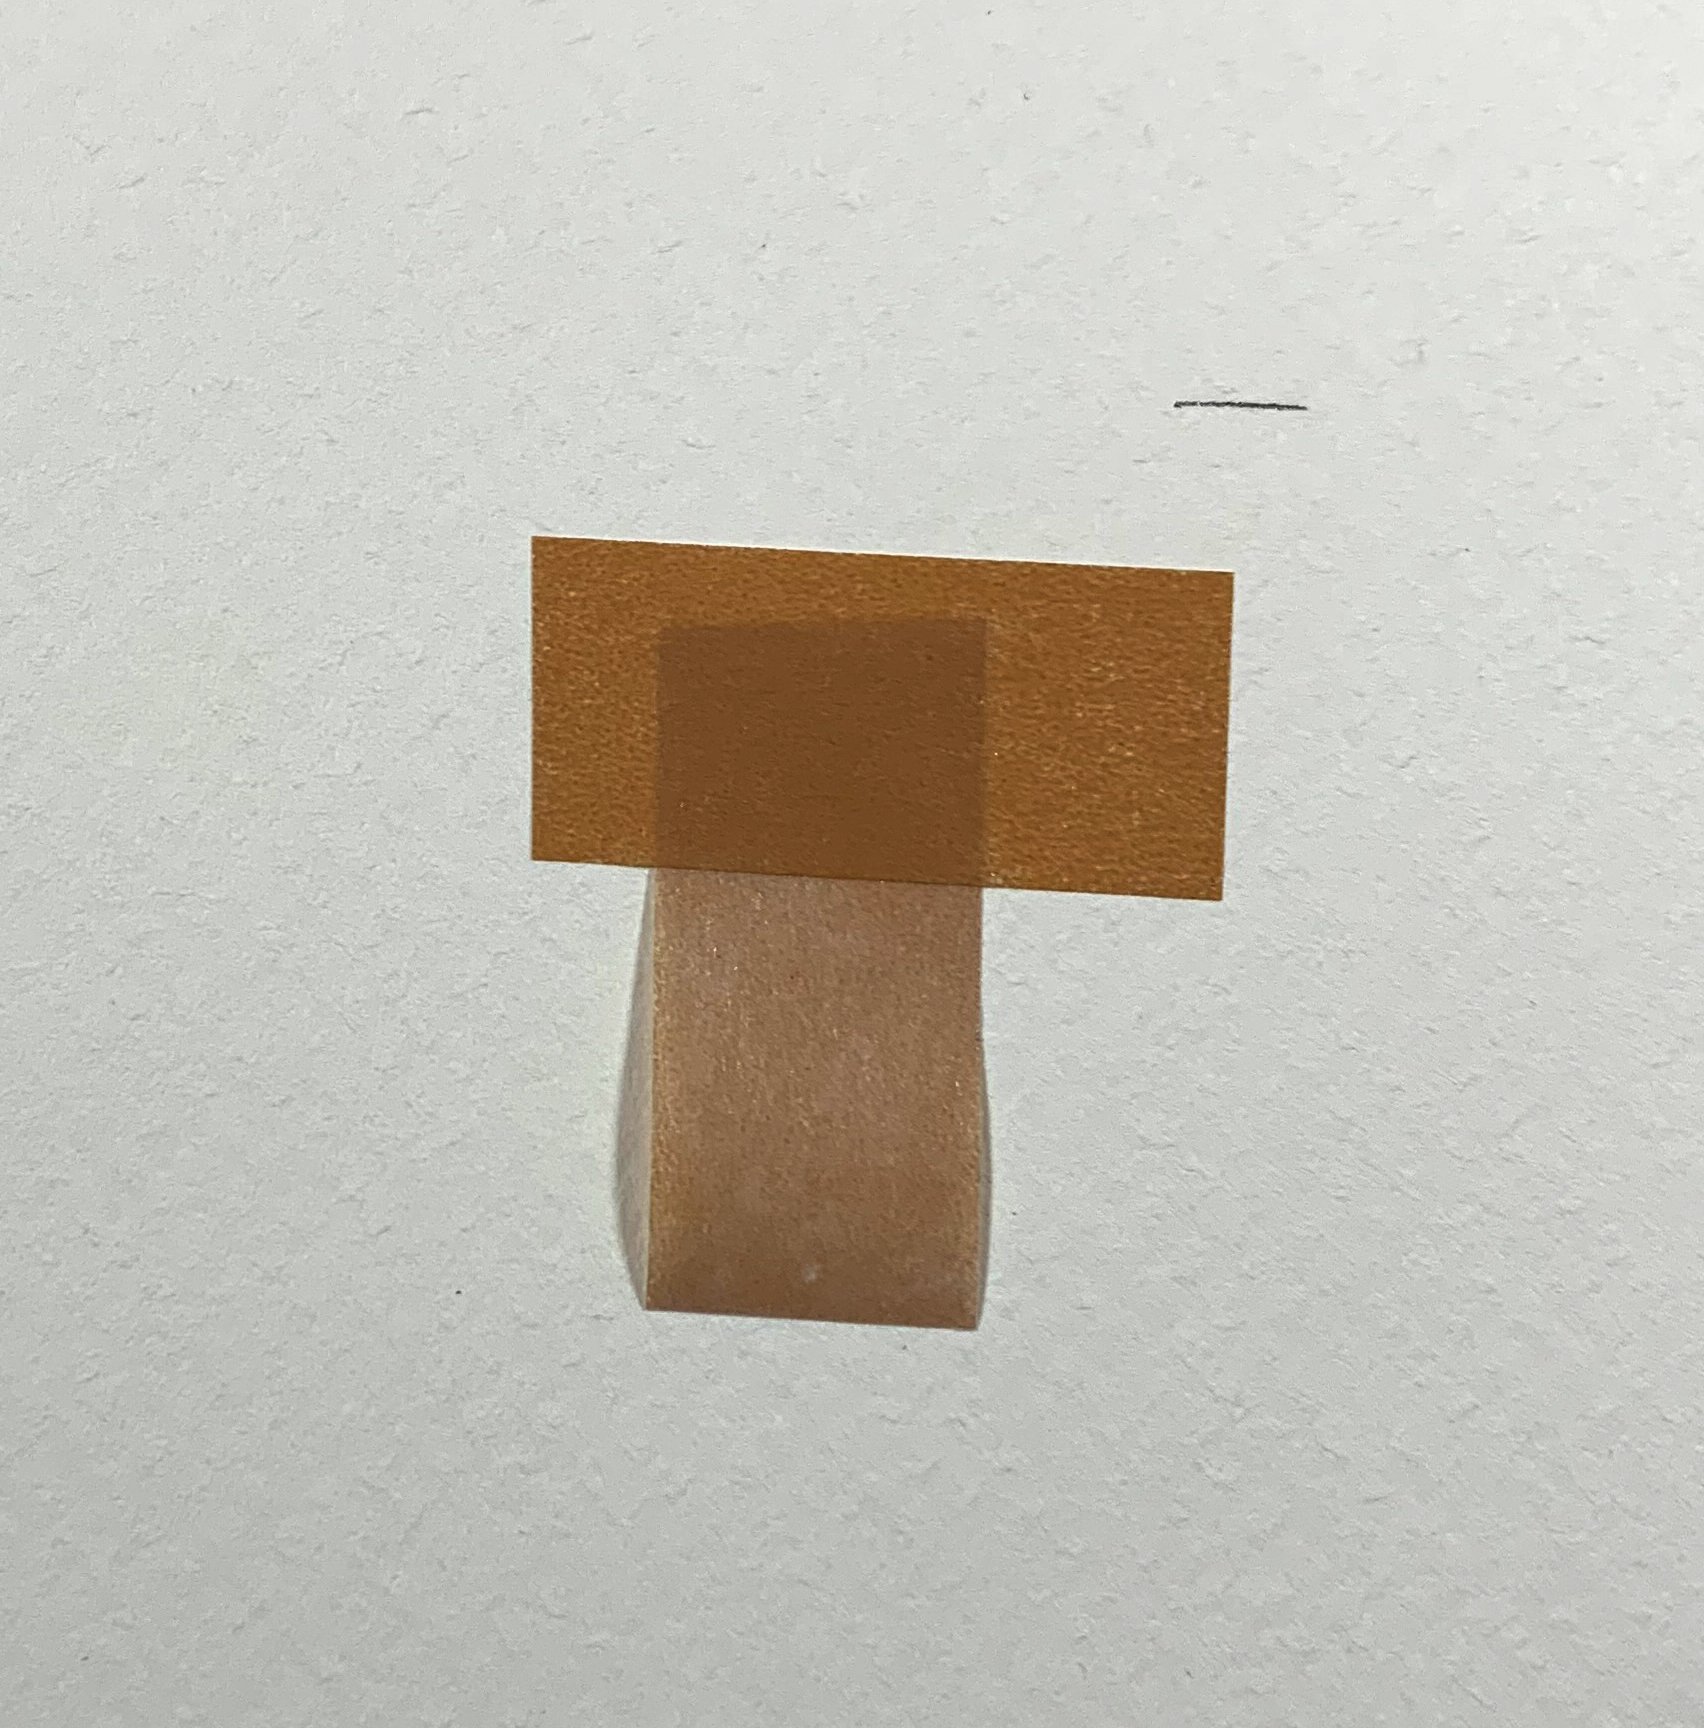
Cut 8 pieces of 2” long strips. You’ll be forming a T shape with 2 pieces of tape so that you’ll have 4 Ts in the end.

The top of the T will have the sicky side facing down, and the bottom of the T will have the sticky side facing up, as pictured.
Note: I’m using a color masking tape, rather than the white linen tape in the photo here, so that it’s easier to see and distinguish the sicky and non-sicky sides.
Using the two pencil lines from before as guides. Place two top T shapes within the guide lines so that it won’t show up beyond the artwork paper once we place it down.

Place the other 2 Ts down towards the bottom left and right of the artwork (you can use the artwork as guide by lining it up with the pencil mark to the side, as pictured).
This way you’ll have one T on each corner of the artwork to float mount the artwork to the mat board.
4) Carefully hold the artwork above the mat board so that it is not touching any of the tapes. (I usually like to do this with be the artwork and matboard “horizontal” to me so the bottom of the artwork is being held by my dominant hand and I’m lowering and adjusting the top of the work with my other hand).

Lower the top side of the print and start to line it up with the two pencil marks you made earlier. Make sure the print is not touching the sticky part of the Ts yet.

Slide the print into place so that it lines up with pencil marks and just covers them.
Make sure the print is where you want it. Then hold the top part of the print down firmly against the mat and let go of the bottom part of the print gently.
Double check again that the print is indeed in the right place. Finally, gently but firmly push the print down onto the four areas where the Ts are at.
At this point, with the artwork stuck on the Ts formed by the tapes, you should be able to hold up the mat board with the print on it and the print would be “floating” on it.
5) Next you’ll need spacers so that the artwork is not directly touching the clear glazing/glass - this will hurt the artwork over time. You’ll need to cut 4 strips of mat board so that it’ll form a thin frame that can fit snugly within the lip of the frame.

You want to cut the strips so that the spacer will end up looking like the setup on the left, where the left and right sides sit between the top and bottom sides. This way the top strip is fully supported by the left/right strips and won’t fall down over time like the setup on the right.

The cut strips need to be slightly narrower than the lip of the frame so that when everything is put together you can’t see it.
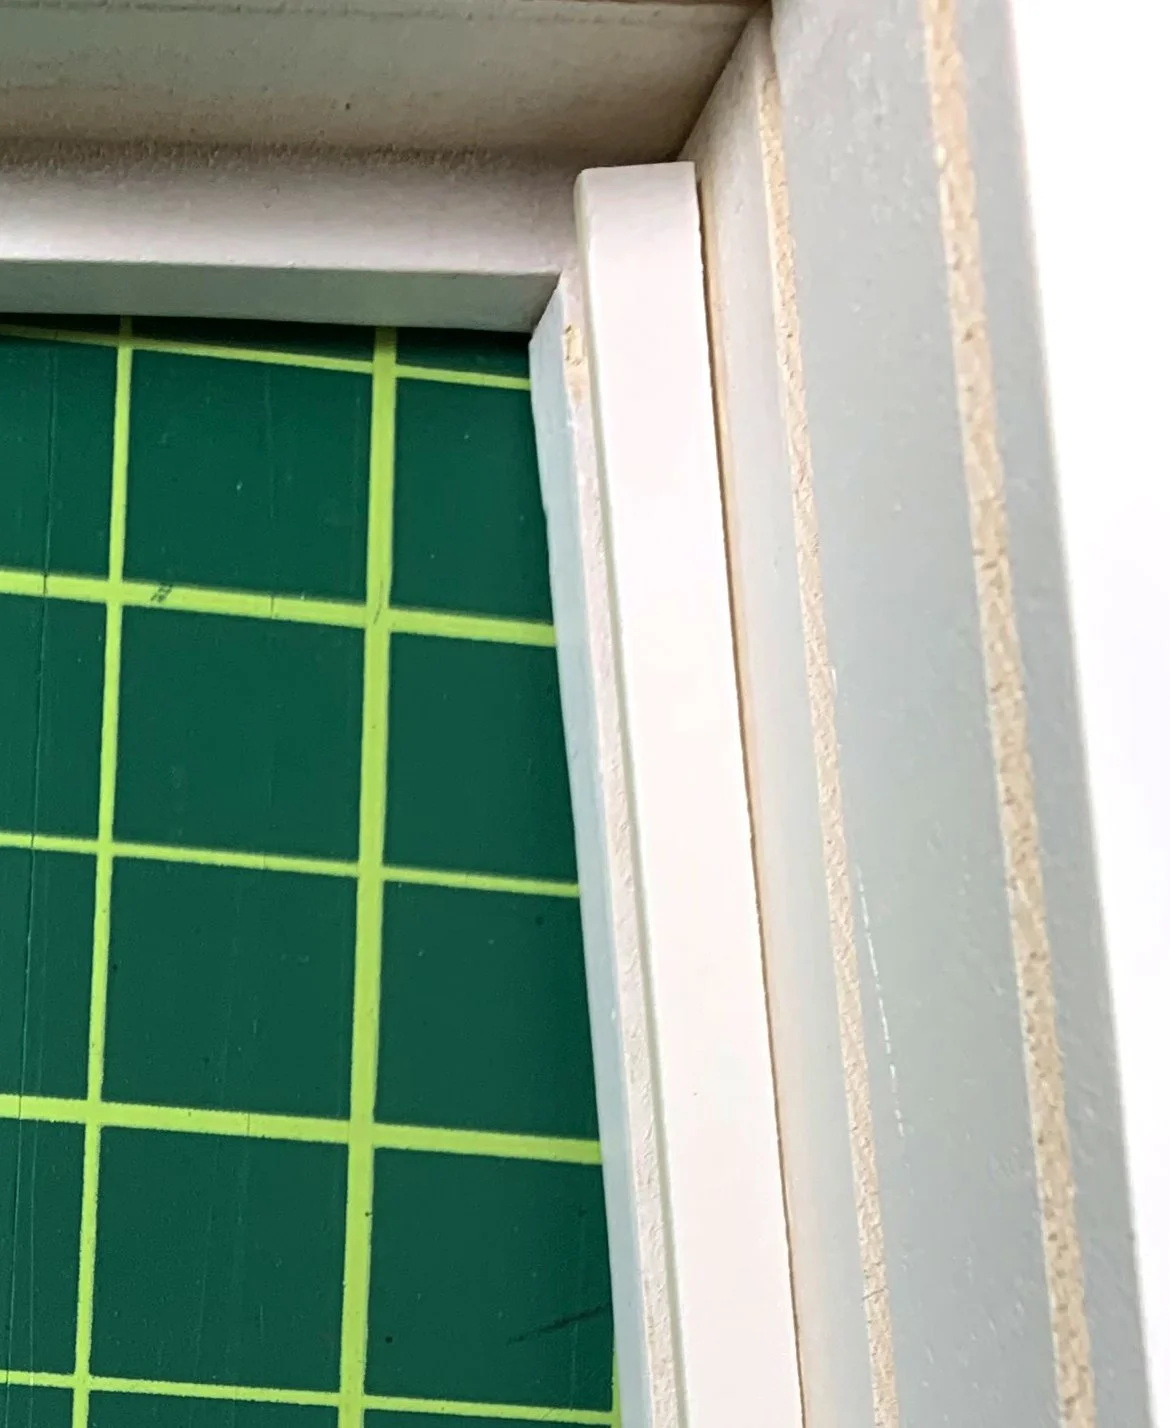
Double check that the cut mat strip is narrower than the lip of the frame.
With the above in mind, cut four thin strips of mat board:
Two that is the inner width of the frame
Two that is the height of the frame, minus the width of the top and bottom strips
It might take few tries to get it right and get a snug fit.
By the way, there are also ready-made spacer with self-stick sides that can be bought online. But you’ll still need to cut it to size though.
6) Next, assemble the spacer strips as the correct setup on the left below:
With the left and right sides wedged between the top and bottom sides. You can either glue or tape or do both to put the edges together.

When you’re done you should have a thin rectangle of spacer that can fit within the frame, resting just out of view on top of frame’s lip.
(The spacer is placed at an angle on top of the frame in the photo so it can be seen more easily.)
7) Now that the spacer is ready you can put it aside for now. All the parts are ready, and you can assemble the frame now.

First, put the clear glazing/glass back in.

Then, put the spacer in on top of the glazing.
Make sure it sits within the edge of the frame’s lip so that it can’t be seen when viewed from the front.

Put a few pieces of narrow tape in the mid section of each side of the spacer to hold the mat board to the frame. Make sure it’s not visible from the front.
Again, the color mat tape is just to make it easier to see in the photo, it is best to use white archival tape.

Then turn the matboard that the artwork is float mounted back side up, with the artwork facing the galzing, and drop it into the frame.
Hold everything firmly together and double check from the front of the frame to make sure everything looks OK.

Here’s a cross section of all the layers and what goes where (not including the back of the frame).
7) When ready, put the back of the frame back on and you’re all set to display the print!
